- Getting Started
- Recommended Integration & Registration Flow
- Admin Console Overview
- User Onboarding and Management
- User Registration and Login
- Enterprise Applications
- Microsoft Integration
- Installing TraitWare PAM Module for SSH and SFTP
cPanel OIDC Integration
Posted on May 1, 2019
Contents
- What You Need From TraitWare
- Initial Steps for cPanel
- Setting Up TraitWare
- Adding an OIDC Application
- Turning on Application Access for User
- Return to WHMCS cPanel
- Sign in to cPanel Dashboard
Getting Started
This document will cover integrating TraitWare Multi-factor Authentication with login for cPanel, cPanel Webmail, and cPanel WHM.
What You Need From cPanel
- cPanel WHM (starting at $20/month)
What You Need From TraitWare
- Client ID
- Client Secret
- Well-known URI
Initial Steps for cPanel
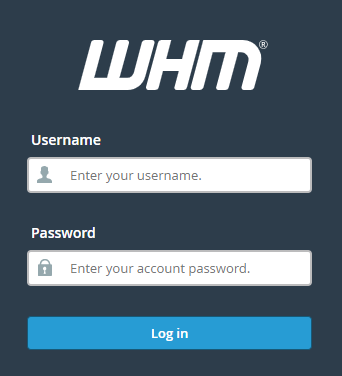
- Navigate to your cPanel WHM
- Sign in as the root user
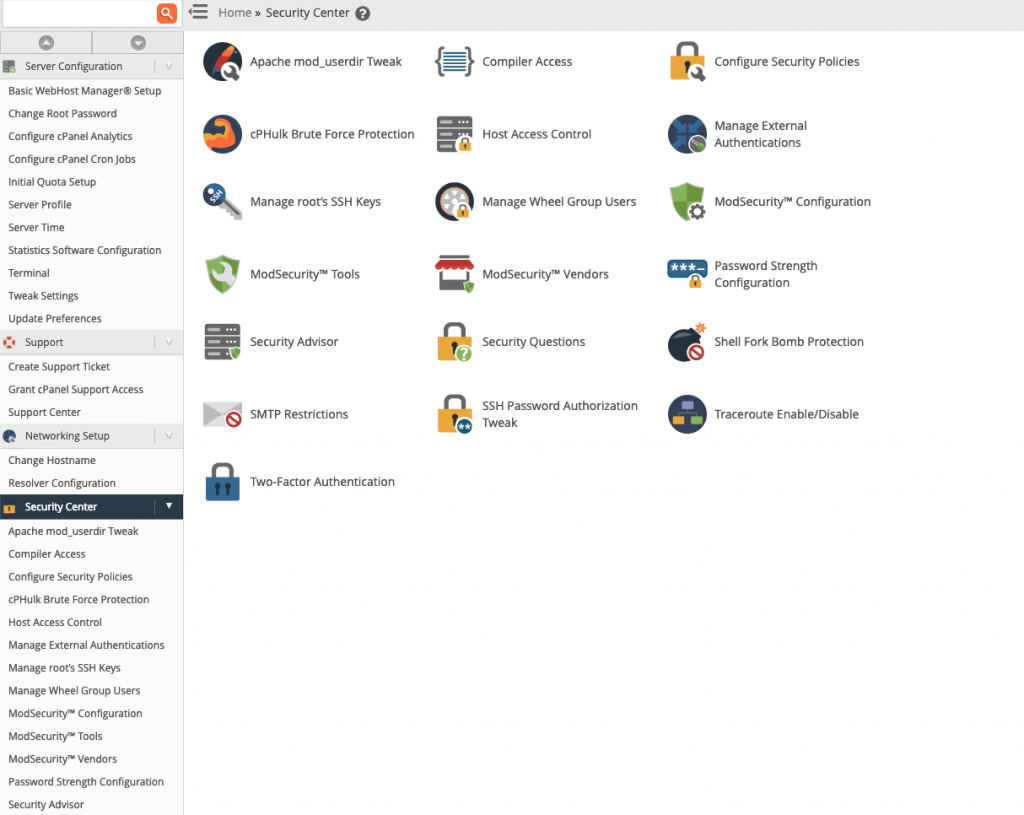
- Navigate to Security Center
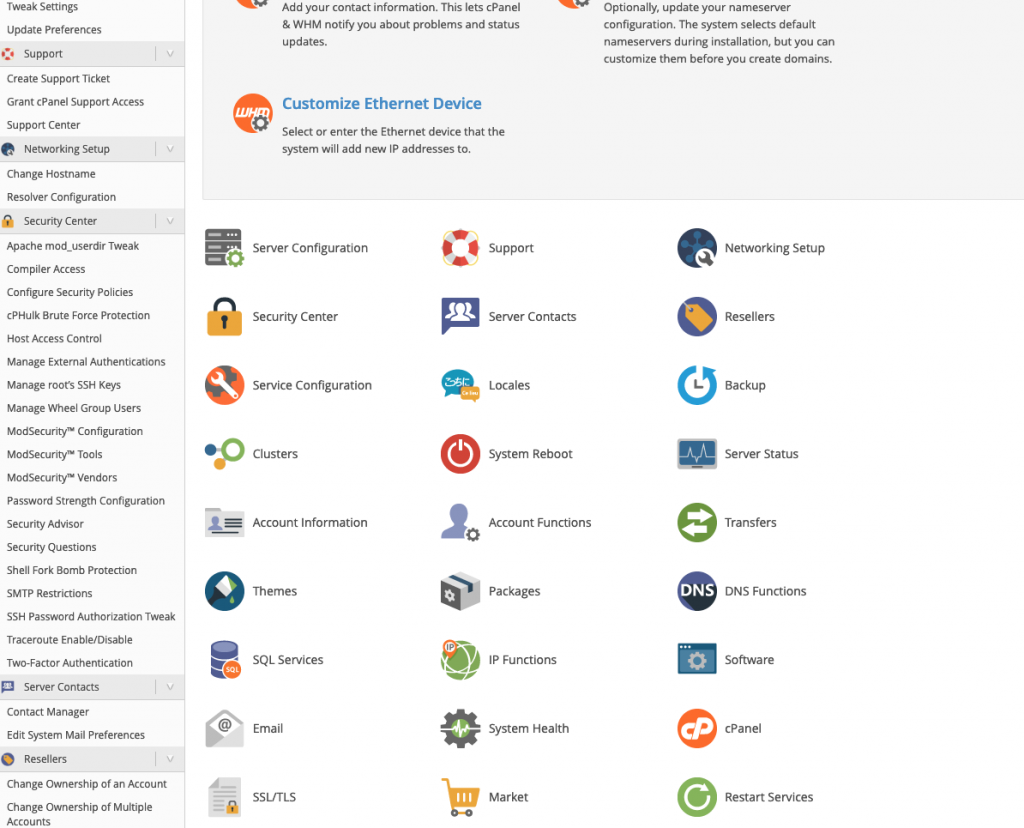
- Select Manage External Authentications
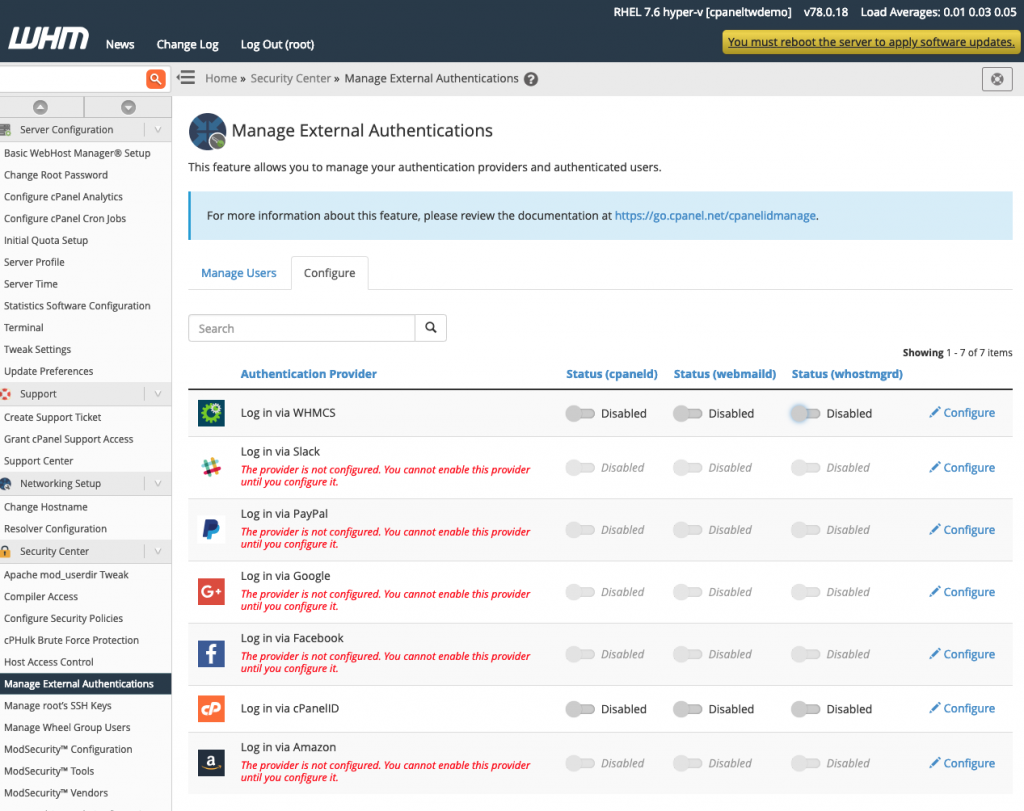
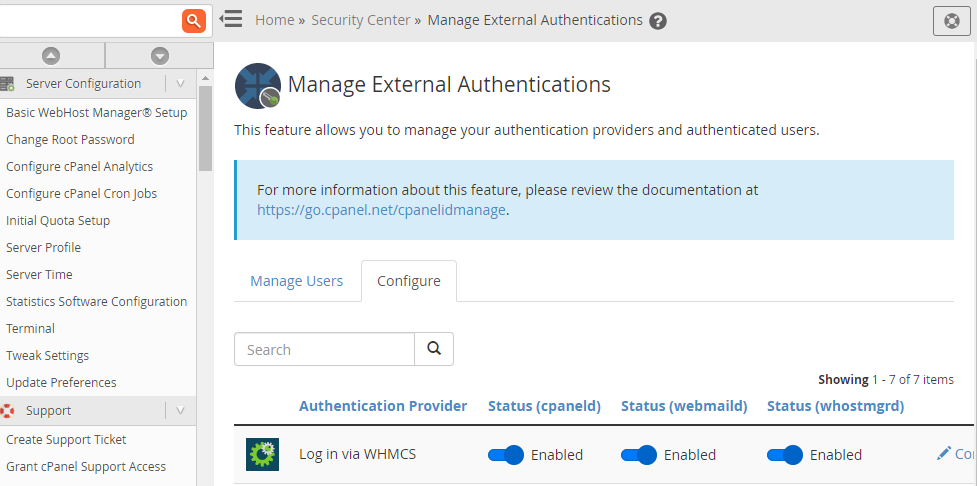
- Select the Configure tab
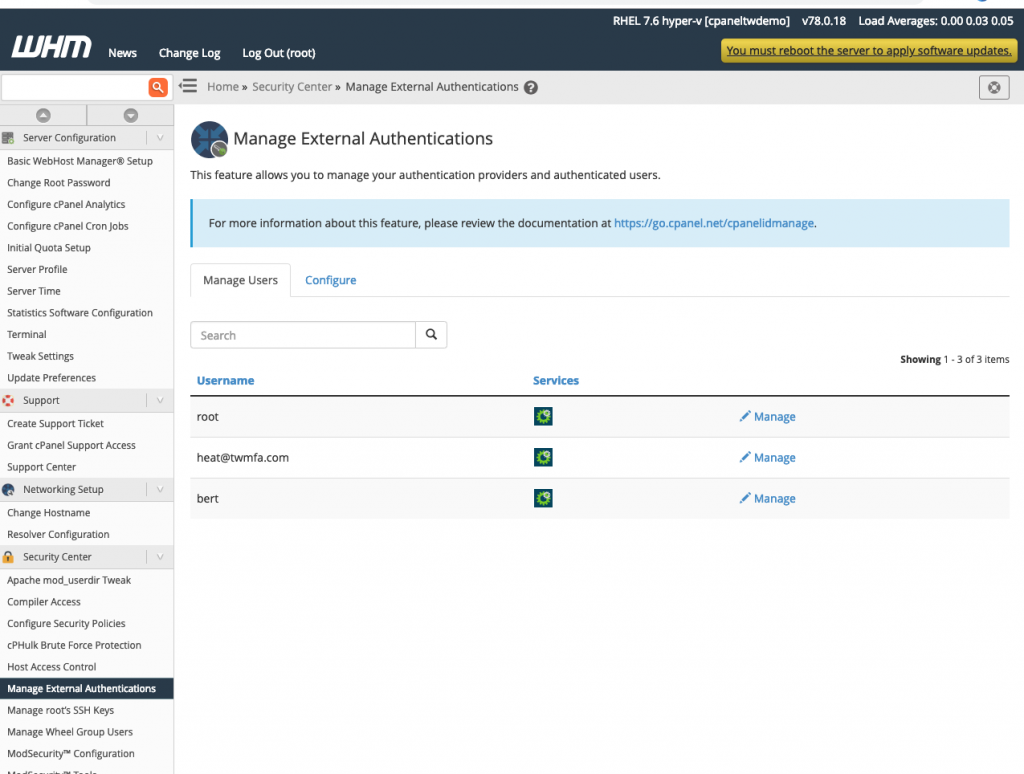
- You will now see a list of available Authentication Providers
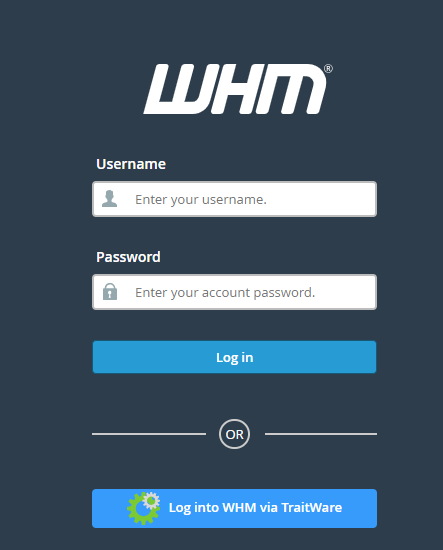
- Select Configure next to Log in via WHMCS
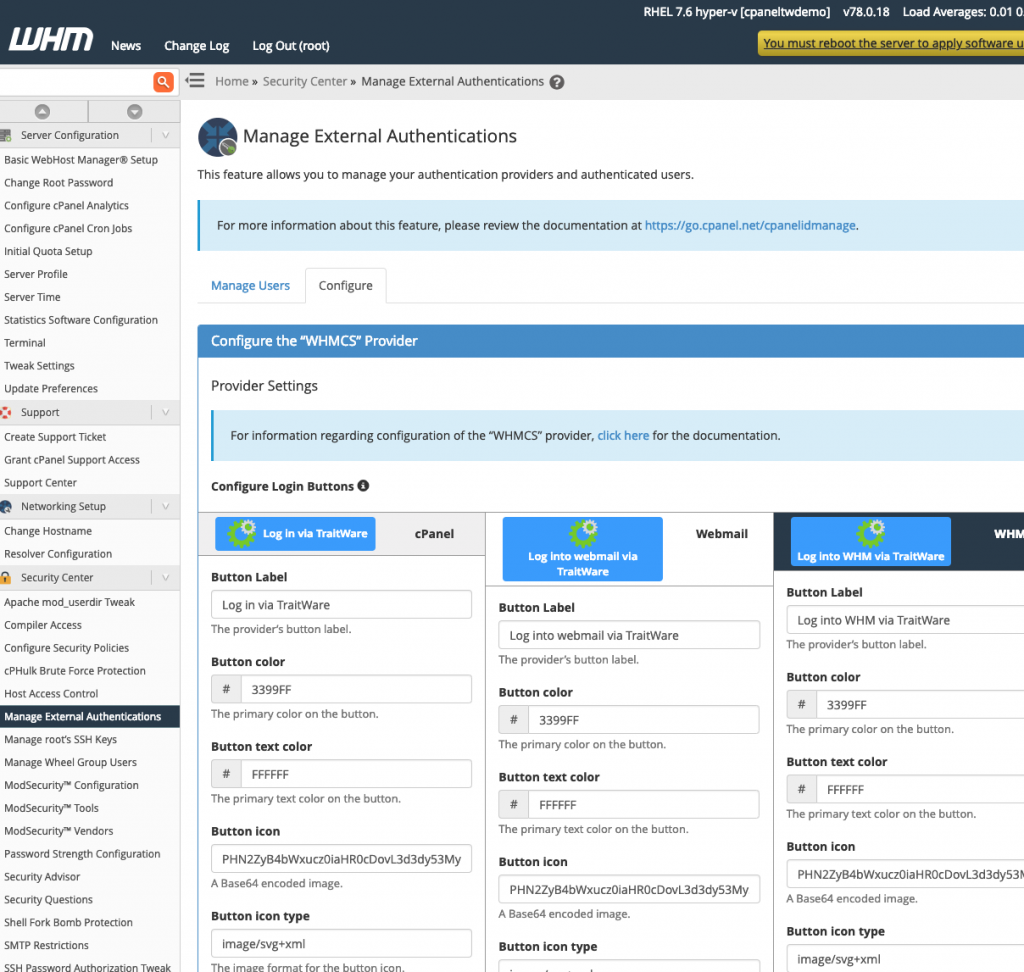
- You will now see options to modify the button
- Enter the text you wish your users to see under Button Label
- You can also modify the Button color, Button text color, and Button icon in a way that makes sense for your needs
- For our example, we have chosen a blue button with white text
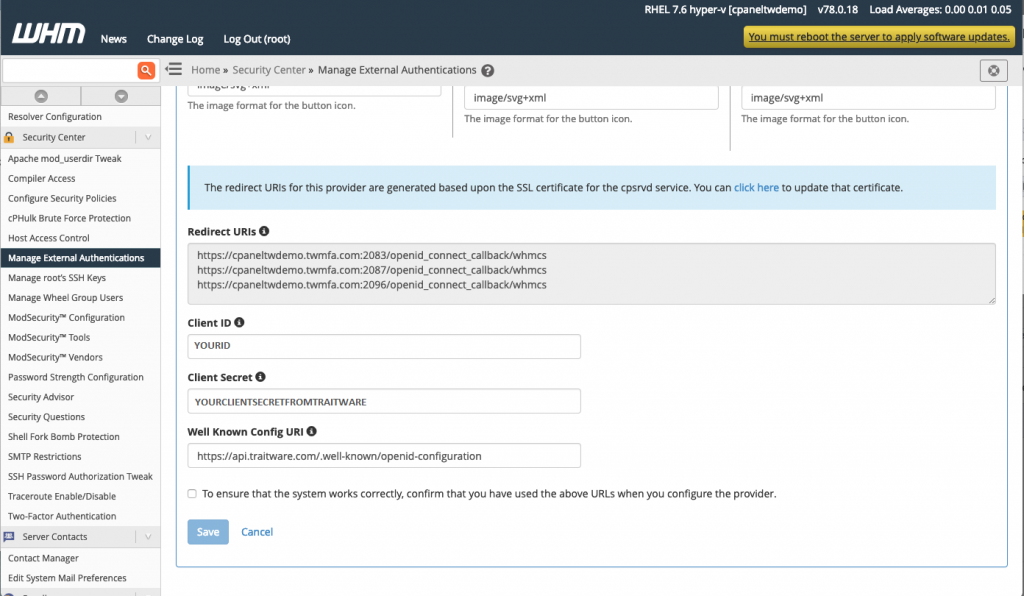
- If you continue to scroll on this page, you will also find the Redirect URIs that are required to setup your TraitWare Application
- Copy these values so that they can be used
- Note that below these values, there are three fields that you will need to put information provided by TraitWare in these next steps

Setting Up TraitWare
In order for TraitWare to communicate with cPanel, an application will need to be created. Once you have access from TraitWare, navigate to https://admin.traitware.com and use your TraitWare app to sign in.
If you do not have access to login to https://admin.traitware.com, please setup a trial account, or contact us at support@traitware.com
Adding an OIDC Application
- Select Applications in the menu on the left
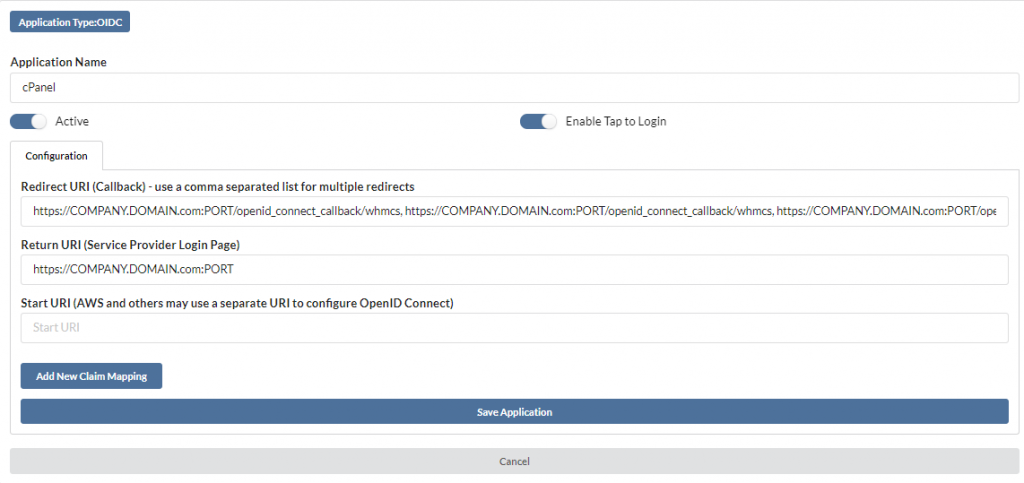
- Select Add Application and choose OIDC as the application type

- Enter an Application Name that will make sense when you see it (ex: cPanel).
- Under Redirect URI (Callback), paste the Redirect URIs obtained from the cPanel configuration. Make sure to separate multiple URIs with a comma
- Under Return URI (Service Provider Login Page), put the URL used to sign in
- Select Save Application
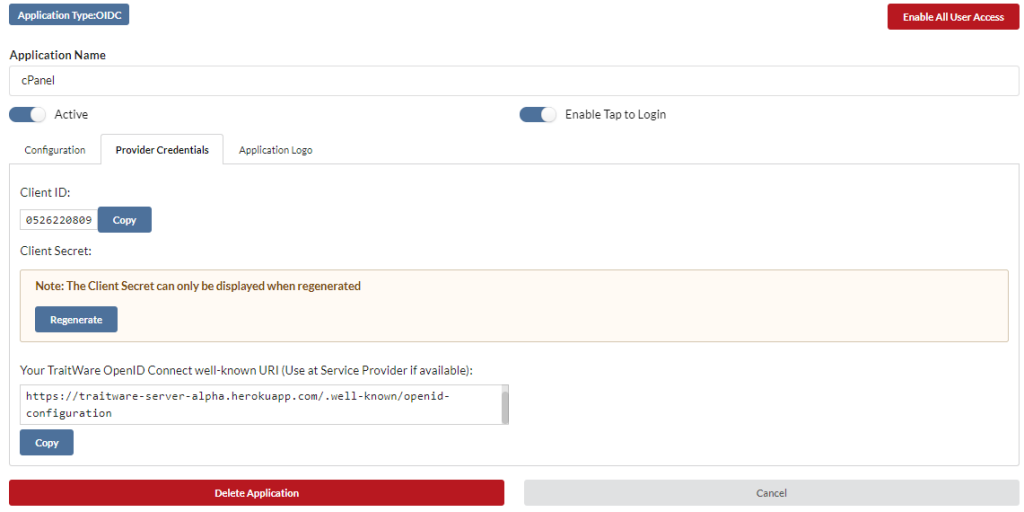
- After selecting Save, a Client ID and Client Secret will be displayed
- These values will need to be copied to a safe place so they can be entered into the next steps of the cPanel setup
- Note: Once you select Ok, the Client Secret is hidden and no longer available unless you regenerate it. If you ever have the need to regenerate it after setting up cPanel, you will need to also update cPanel with the new value.

- After the application has been created, you will also need the TraitWare OpenID Connect well-known URI
- Select the application you created, navigate to Provider Credentials
- Note here that you can now see your ClientId, but you will need to Regenerate your Client Secret if you have lost it
- You also have the option to Upload a Logo for your application by navigating to the Application Logo tab
Turning on Application Access for User
- Select Users from the menu on the left.
- Select a user. Their User Profile will open.
- Find the cPanel Application name under the Applications tab, and select the application to enable access for that user.

Return to WHMCS cPanel
- Return to the External Authentication WHMCS Configuration page
- Paste the TraitWare values into the appropriate fields
- TraitWare Client ID into the Client ID box, TraitWare Client Secret into the Client Secret box, and the TraitWare well-known URI into the Well Known Config URI box
- Check the box to confirm that you have used the above URLs
- Then select Save
- You will see a success message in the upper right of your window if your configuration is successful
- Select to Enable cpanelId, webmailId, and whostmgrd
Sign in to cPanel Dashboard
- Existing users can be linked to the external authentication as well.
- Be aware that an external user activated on the cPanel account will be given access to sign in to the admin account
- Make sure that all users you wish to give access to the account have their TraitWare Application access Toggled on
- Sign in to your cPanel Dashboard
- Select your admin name in the upper left to expand the menu
- Select Password & Security
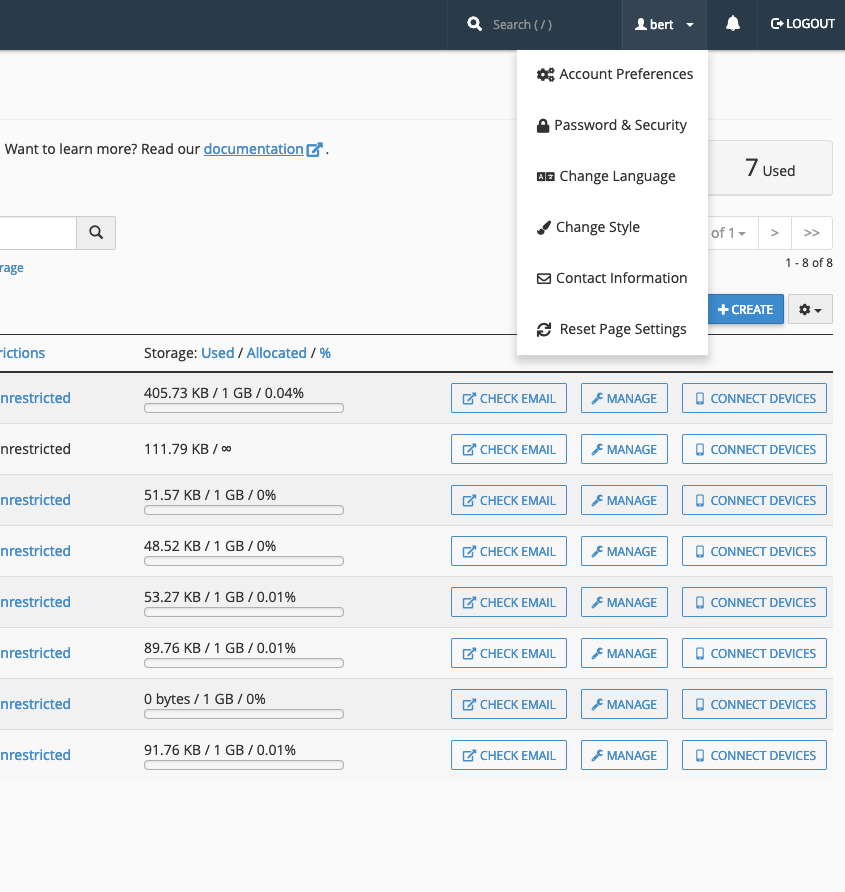
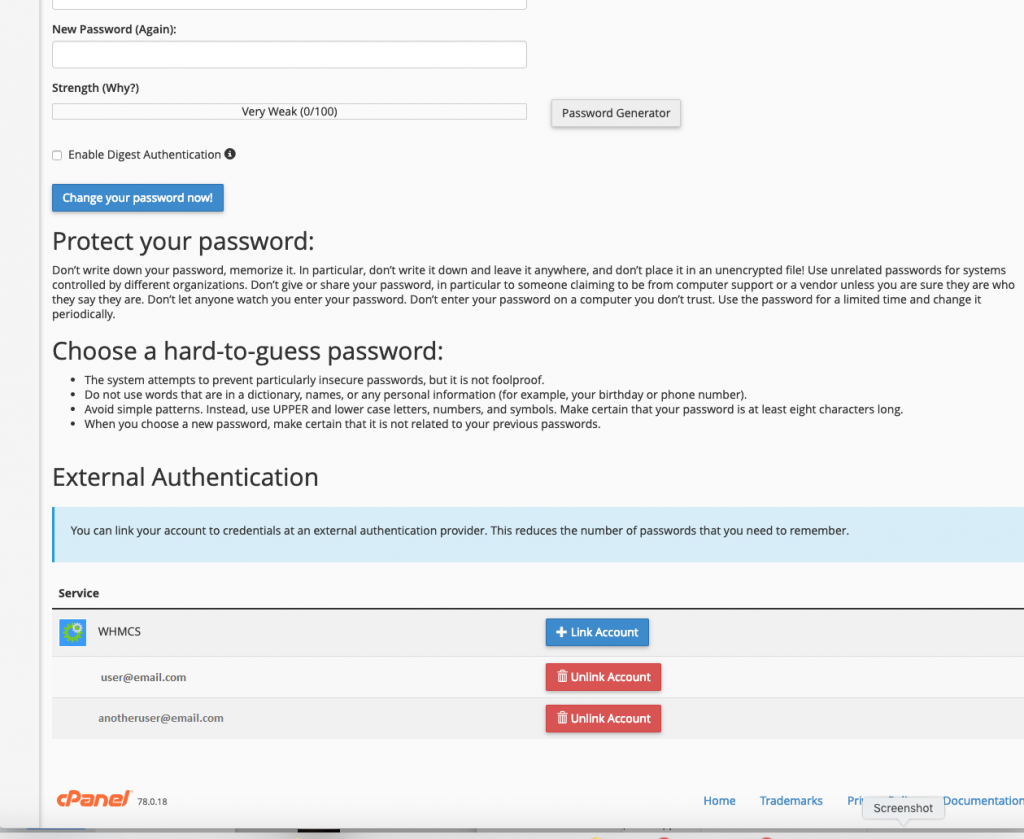
- Scroll down to External Authentication
- Select +Link Account.
- Again, please note that this will link user accounts to the admin cPanel account
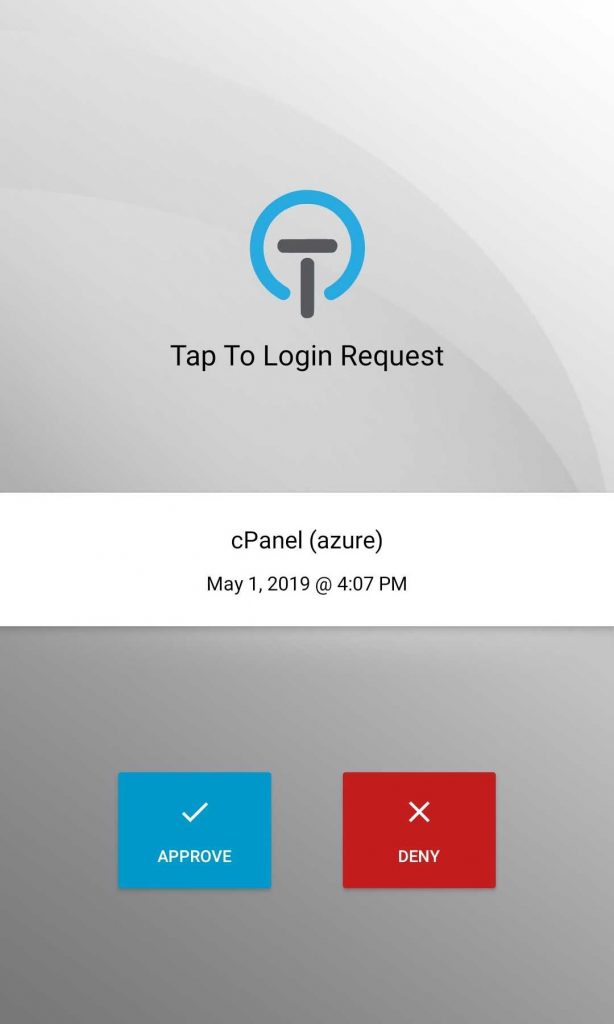
- A QR will open, the user who wishes to link their account to the admin login will need to scan the QR with their TraitWare app or authenticate a push notification to their phone (see below QR)
- If the user gets an error on their TraitWare app, make sure that their cPanel application access has been toggled on

- A push notification can be used if a user does not have access to the admin password, but needs to be added and isn’t in the same location
- The user will need to open and authenticate their TraitWare app, and then the admin (or person setting up the access) will need to type in the user’s email and select Log In with Email
- The user will then need to Accept to notification to gain access (be linked to the account)
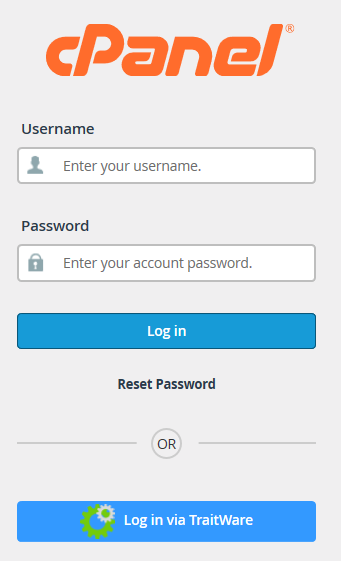
- Users will then have the option to sign in using TraitWare
- A button will appear based on what you created above
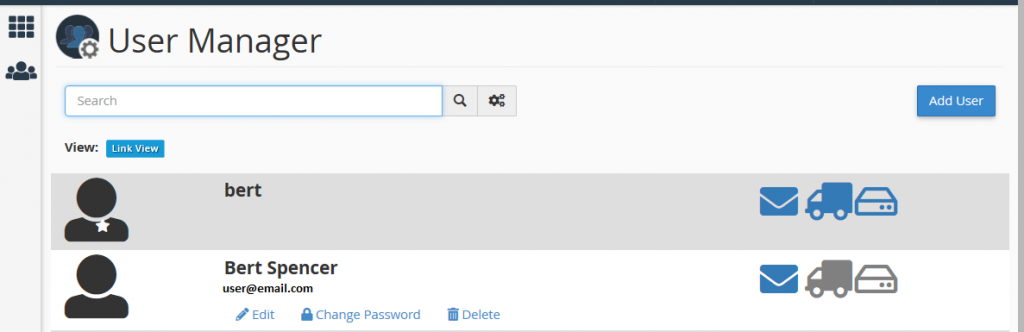
- To add email users, create user email accounts within cPanel under User Manager.
- You will also need to create a password that is at least 16- digit strong password; do not provide to the users or copy.
- Follow steps above to link any new users as desired