- Getting Started
- Recommended Integration & Registration Flow
- Admin Console Overview
- User Onboarding and Management
- User Registration and Login
- Enterprise Applications
- Microsoft Integration
- Installing TraitWare PAM Module for SSH and SFTP
Microsoft Entra – disable default MFA
Posted on May 1, 2024
Overview
Note: The following is a guide to disable Microsoft MFA after federating to TraitWare. This is done to prevent the user from being prompted by multiple different authenticators.
Microsoft Admin
Active Users
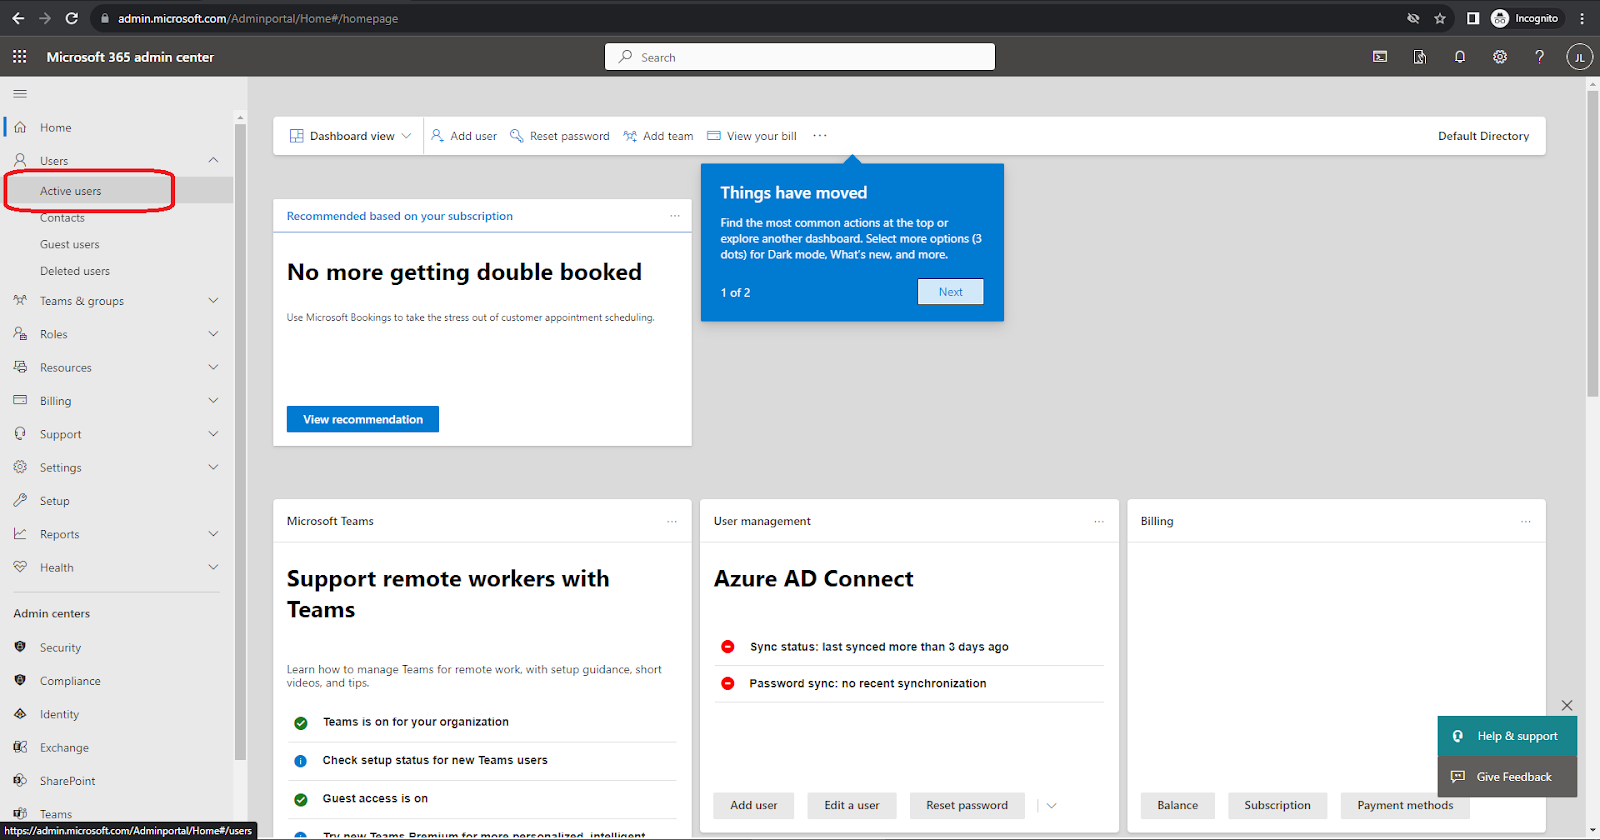
Sign into admin.microsoft.com. Select Active Users.

On the top bar of Active Users, select Multi-factor Authentication.
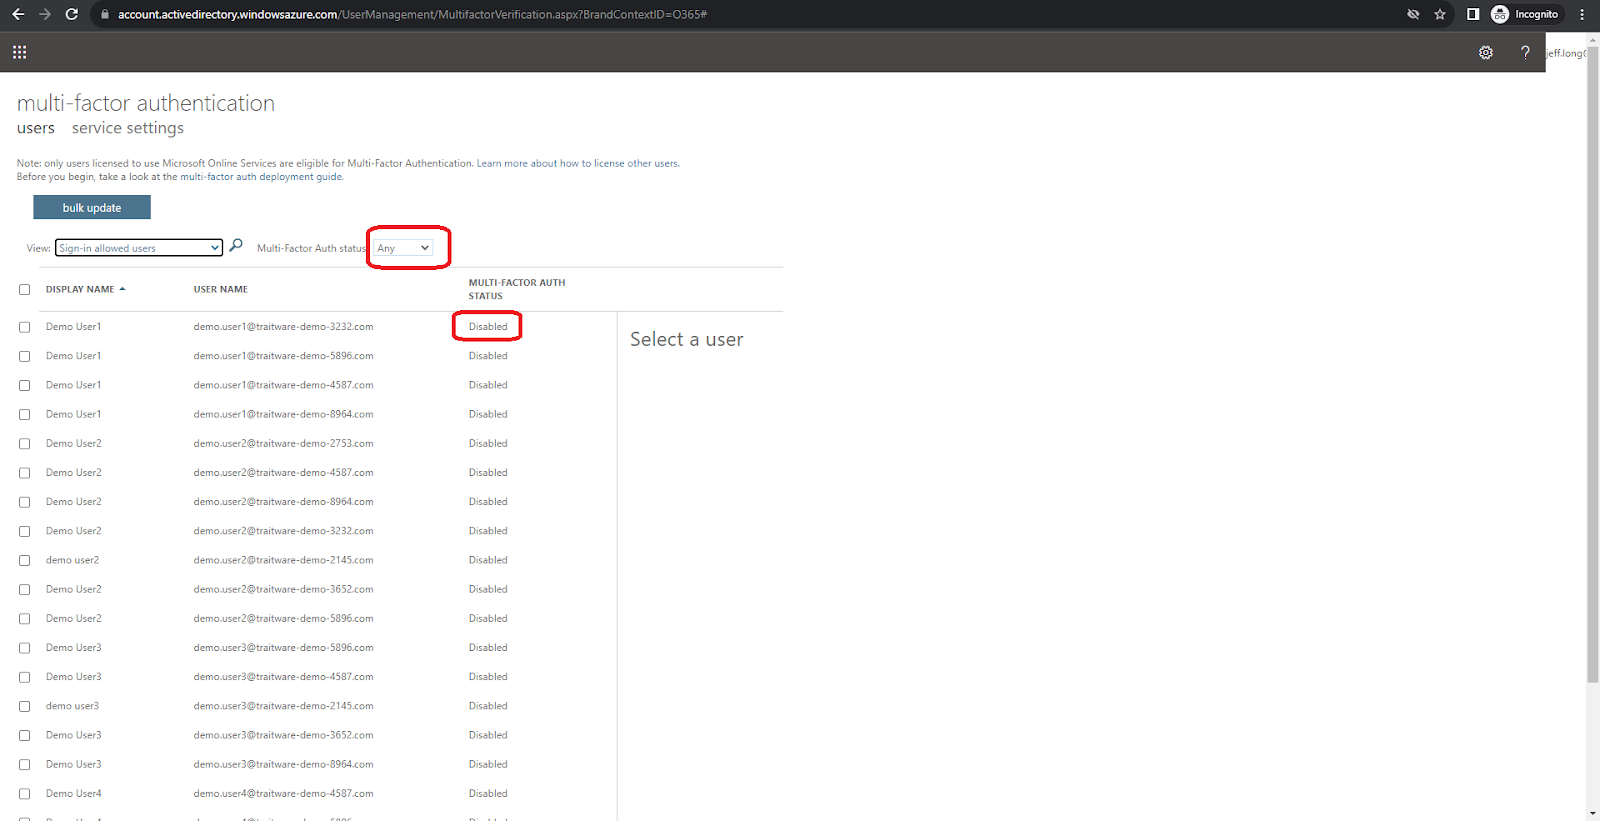
Change individual user Multi-factor Authentication status to Disabled. Filter to find all enabled users.
Microsoft Entra Admin
Registration Campaign

Navigate to the entra.microsoft.com. Click on Protection->Authentication Methods. Click on Registration Campaign. Under State, select Disabled.
Authentication Methods
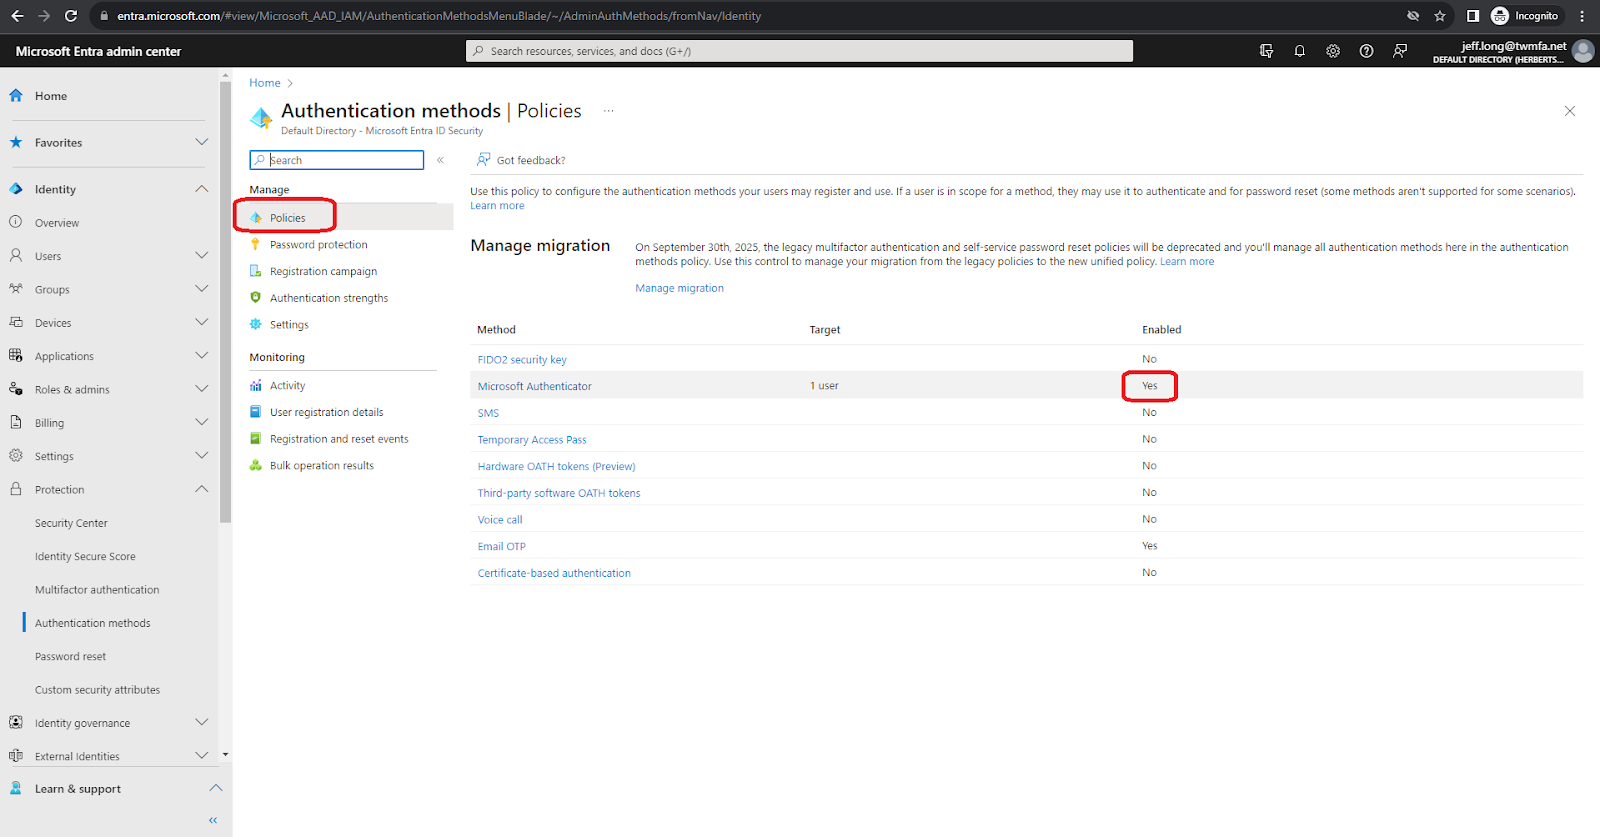
Navigate to entra.microsoft.com. Click on Protection->Authentication Methods. Select Policies. Select all methods other than email OTP to No.
Settings
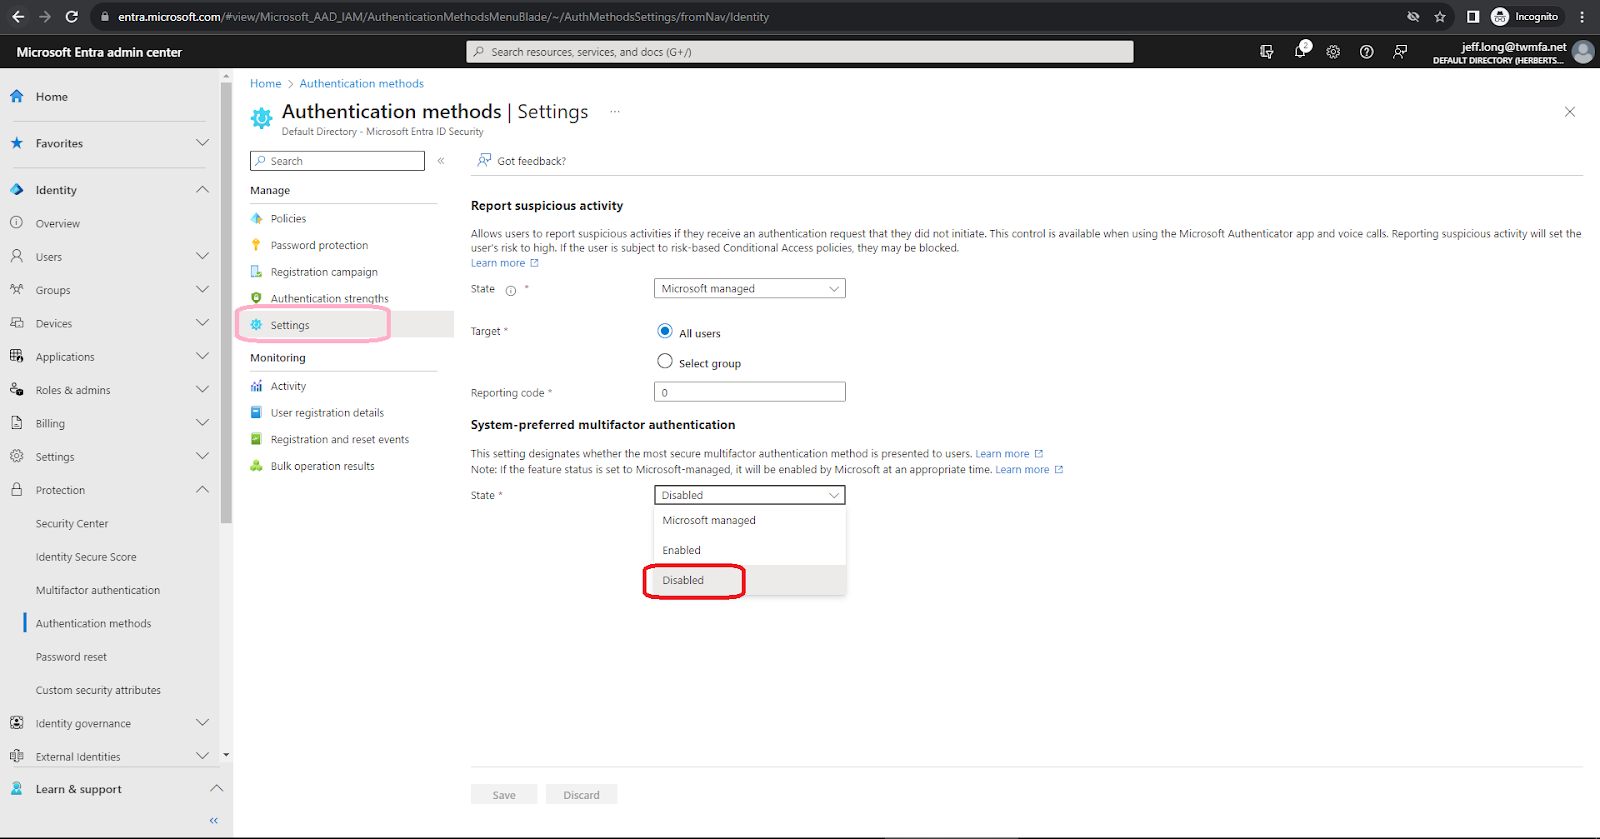
Navigate to entra.microsoft.com. Click on Protection->Authentication Methods. Under System-Preferred Multi-factor Authentication select the dropdown next to State. Select Disabled.
Entra ID
Security Defaults
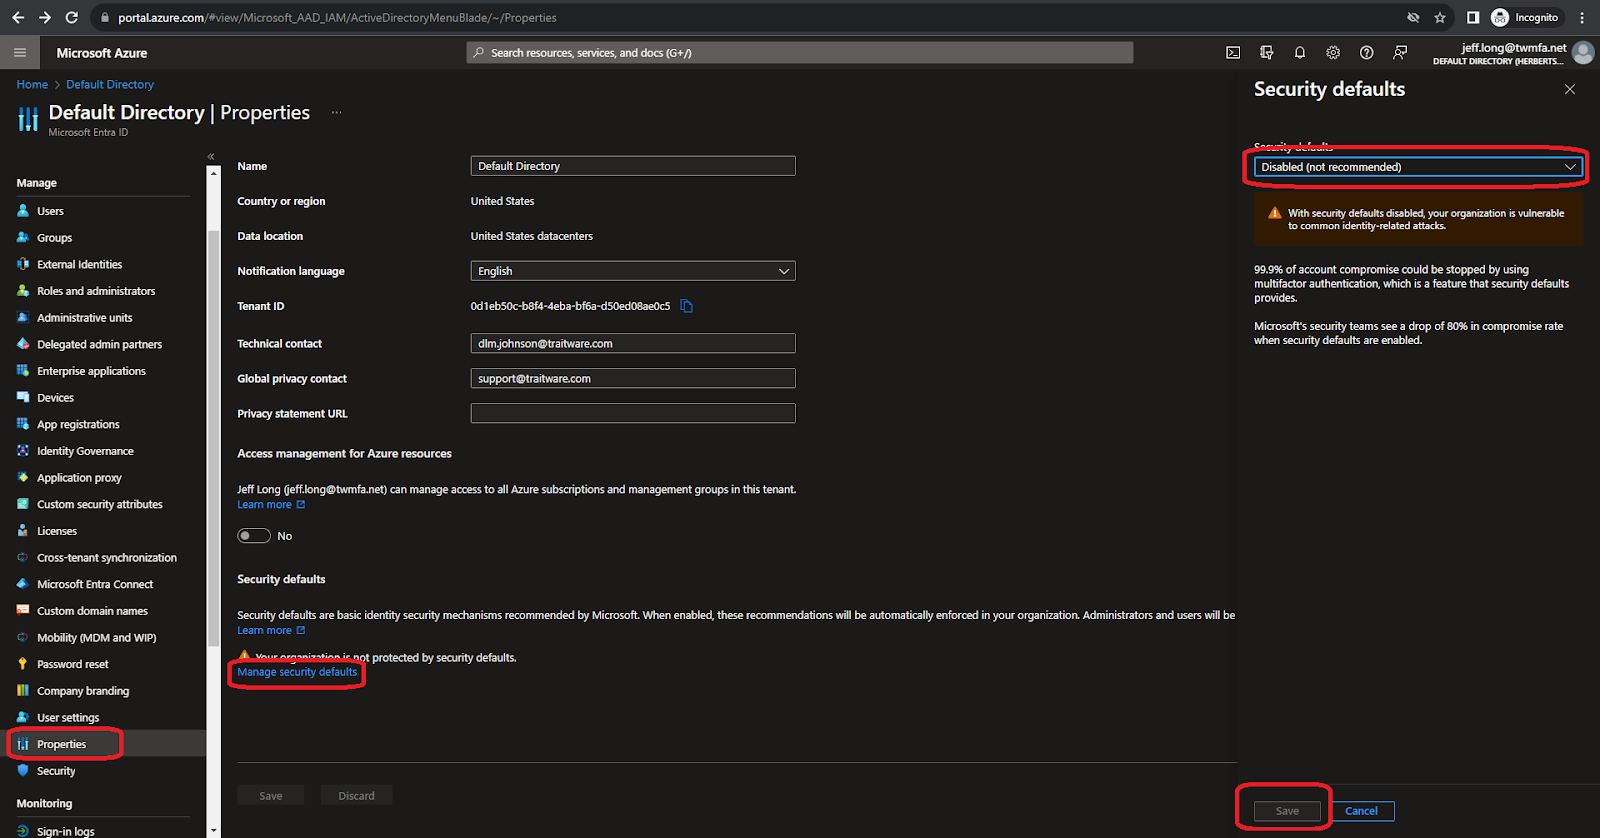
Navigate to Properties. Select Manage Security Defaults. Select Disabled. Click Save.
Disable MFA
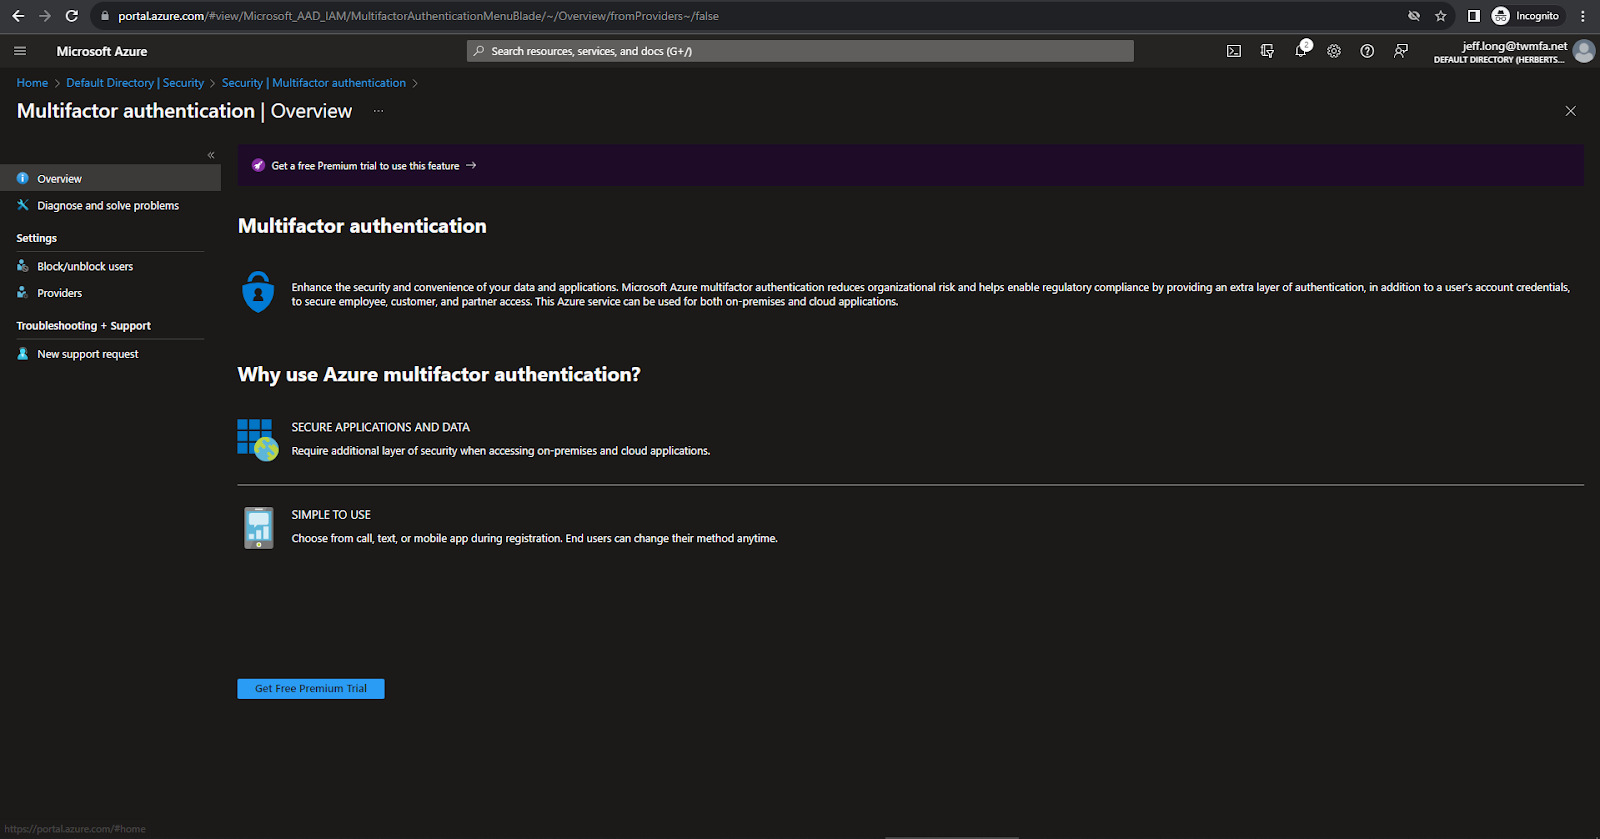
Disable Multi-factor Authentication in Conditional Access.
Disable Self-Service Password Reset

Navigate to Password Reset. Select Properties. Under Self-Service Password Reset, select None. Click Save.
Authentication Methods
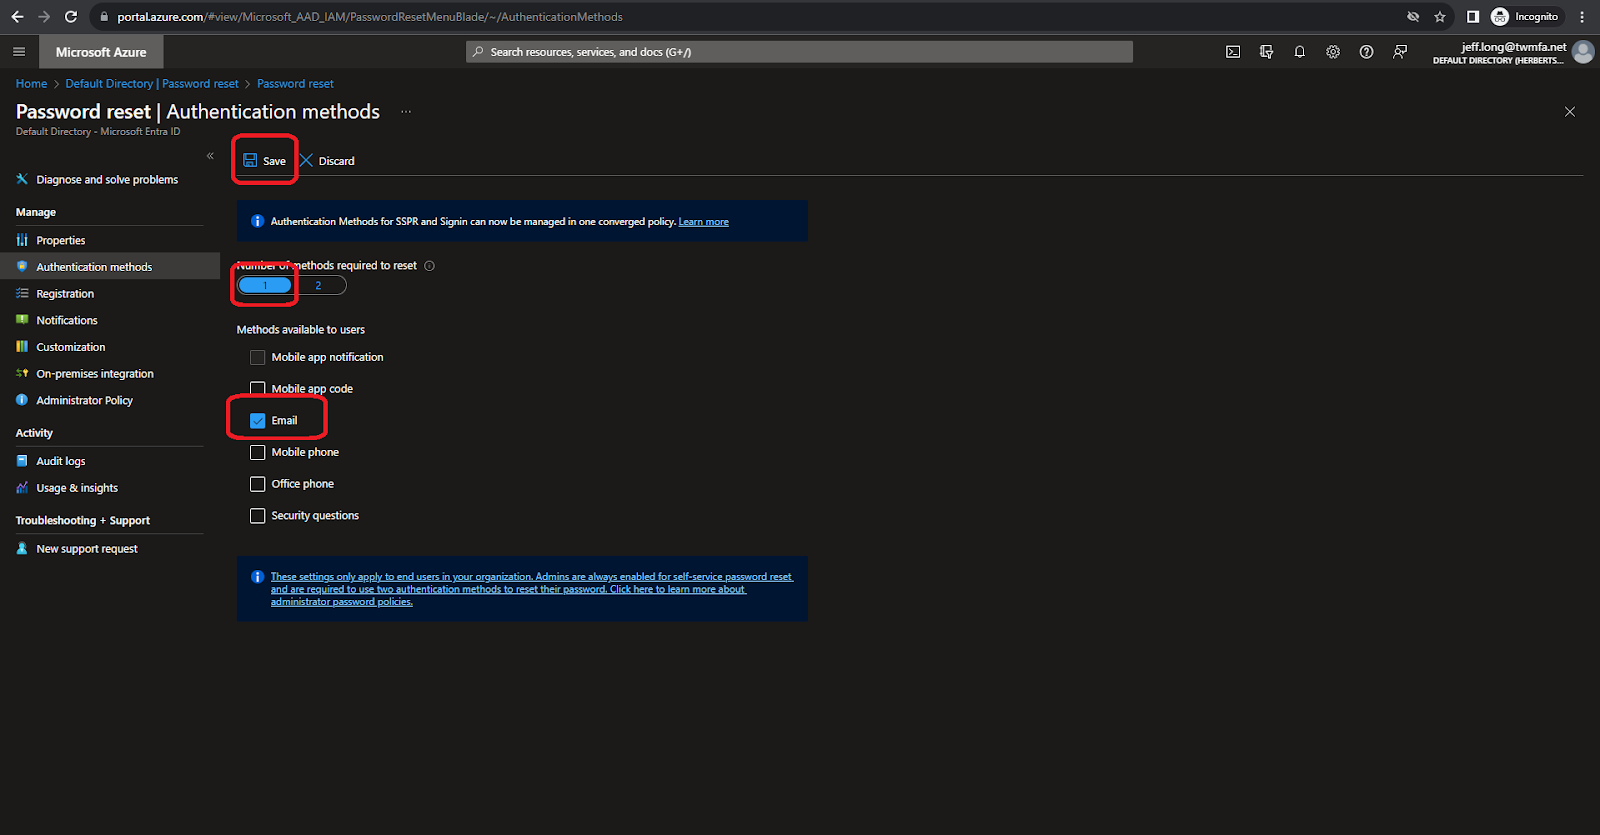
Navigate to Password Reset. Select Authentication Methods. Select the number “1” for number of authentication methods required to reset. Unselect all methods except email. When finished, click Save.
Registration Campaign
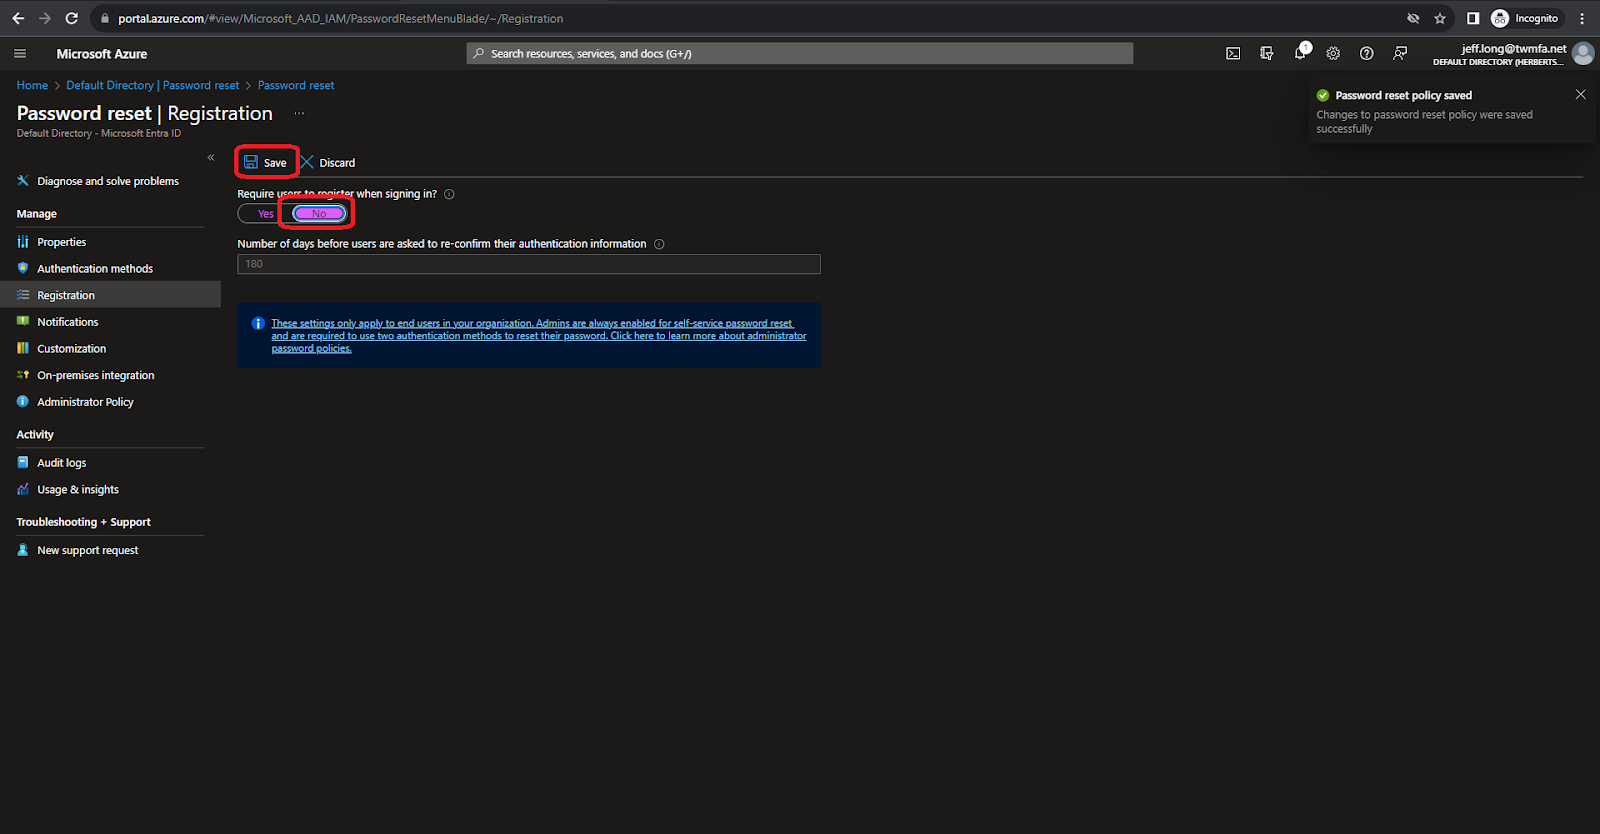
Navigate to Password Reset. Select Registration. Under Require users to register when signing in?, select No. Click save when finished.
Per user MFA
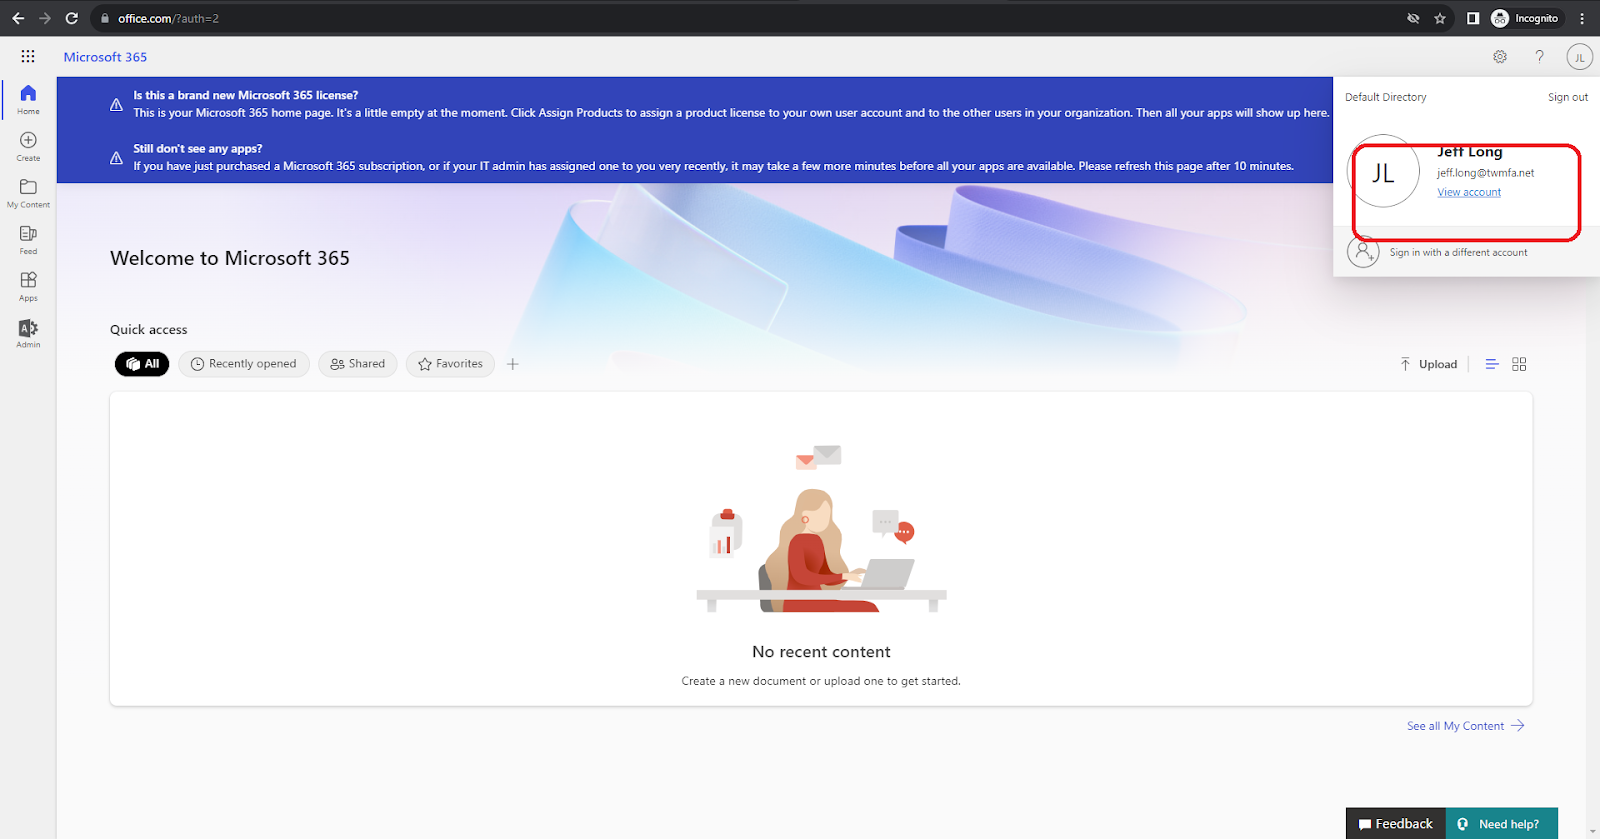
Have the user log into Office.com. Click on the user initials on the upper right hand corner of the screen. Select View Account.

Select Security Info and click Update Info.

Delete authentication methods.